How to set up a shared craft box for siblings of different ages
· Editorial team newswithtomseattle.com
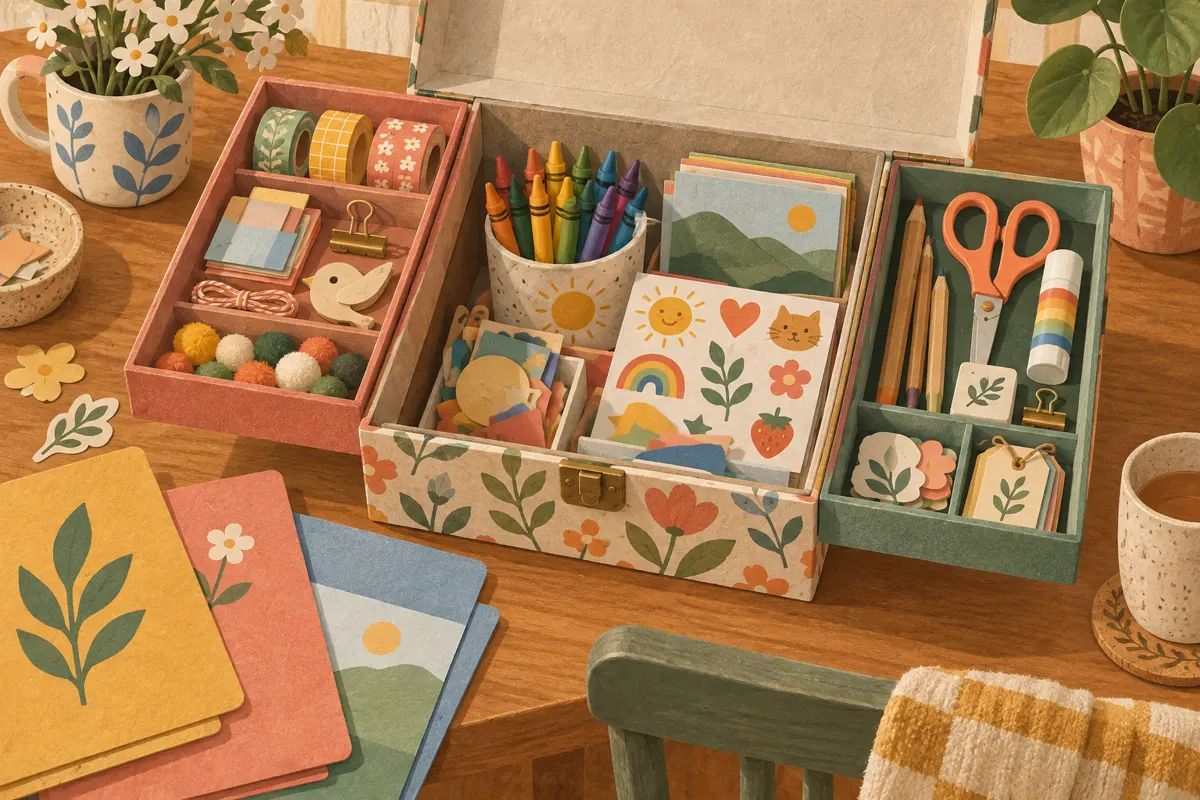
Give shared supplies a central compartment, add a removable tray for each sibling, and store materials that need adult supervision separately. This proposed setup lets children craft together while keeping their tools and unfinished work easy to find. Start with a box and small containers you already have, then adjust the layout to suit your children’s abilities and interests.
Start with supplies your children actually use
Empty the existing craft stash onto a clear surface before choosing a container. Group similar materials together so you can see what needs space: drawing tools, paper, stickers, adhesives, and project extras. Clear containers, labels, and small boxes used as inserts are storage options suggested by Sculpey.
For this proposed family setup, keep everyday materials in the main box and put occasional supplies elsewhere. A box that contains every craft item can become awkward to carry and difficult to search. Choose something that fits its storage spot and opens easily on your usual craft surface.
- Check drawing tools and remove dried-out markers or unusable pieces.
- Keep clean, useful paper scraps together in one envelope.
- Set aside supplies that require adult handling or supervision.
- Leave enough room to lift each compartment without spilling its contents.
Give each sibling a removable compartment
Use a small tray, pouch, or open container for each child. Select its contents according to the product’s age guidance and the child’s ability to use it safely. Age alone does not tell you whether a child can manage scissors, close a glue container, or keep small pieces away from their mouth.
A younger sibling’s tray might hold suitable chunky crayons, paper, and large stickers. An older sibling’s tray could contain drawing pencils, a sketchbook, and suitable cutting tools. These are proposals, so adapt them to your household. Keep small beads, sharp tools, and other restricted materials in separate adult-controlled storage; a labeled compartment does not prevent access.
Let each child take their tray to their own place at the table. Give personal supplies a clear boundary: siblings ask before borrowing from another child’s tray. The older child can still enjoy detailed projects without having to share every special item.
Label shared materials by what belongs there
Keep the central shared compartment limited to materials appropriate for everyone who can access it. Paper and suitable drawing supplies are possible starting points. Store paper flat in a folder or upright beside the box if it would otherwise get crushed beneath the trays.
Use plain labels such as “Paper,” “Crayons,” and “Stickers.” Add a simple picture beside the word for a child who is still learning to read. Label both the removable container and its place inside the box so returning it is straightforward.
Avoid sorting every color or sticker design into a separate pocket unless the children find that helpful. Broad categories leave fewer decisions during cleanup. For frequently disputed supplies, propose a simple rule: take what you need for the current step, then return the rest to the shared compartment.
Make room for unfinished projects
Give each sibling a named folder for drawings and flat work in progress. Put bulky or wet projects on a separate designated tray or shelf. Keeping projects outside the supply compartments means nobody has to move a sibling’s creation to reach the crayons.
Agree on what happens when that project space fills up. A useful proposal is to let the child choose what to finish, display, save, or take apart before starting another bulky project. Ask before discarding unfinished work, especially when it may look like loose scraps to someone else.
Use the same cleanup sequence every time
Introduce cleanup while the children still have time and energy to help. Work alongside them initially, and assign tasks they can manage. The proposed routine below follows the supplies from the table back to their storage spot.
- Move unfinished work to each child’s project space.
- Close marker caps and adhesive containers.
- Return shared supplies to their labeled compartments.
- Put personal supplies in each sibling’s tray.
- Collect scraps, wipe the surface as needed, and return the box.
Adjust the layout when the same problem keeps appearing. If paper gets bent, move it into a folder; if a tray repeatedly overflows, reduce its contents or choose a larger insert. Keep labels and compartments easy to change as the siblings develop new skills.